Beginner's guide
Create Character and UI Info
| Contents | ||||
|---|---|---|---|---|
| Create Character | Beginner's Guild | Interface | Moving Keys | Changing Screen View |
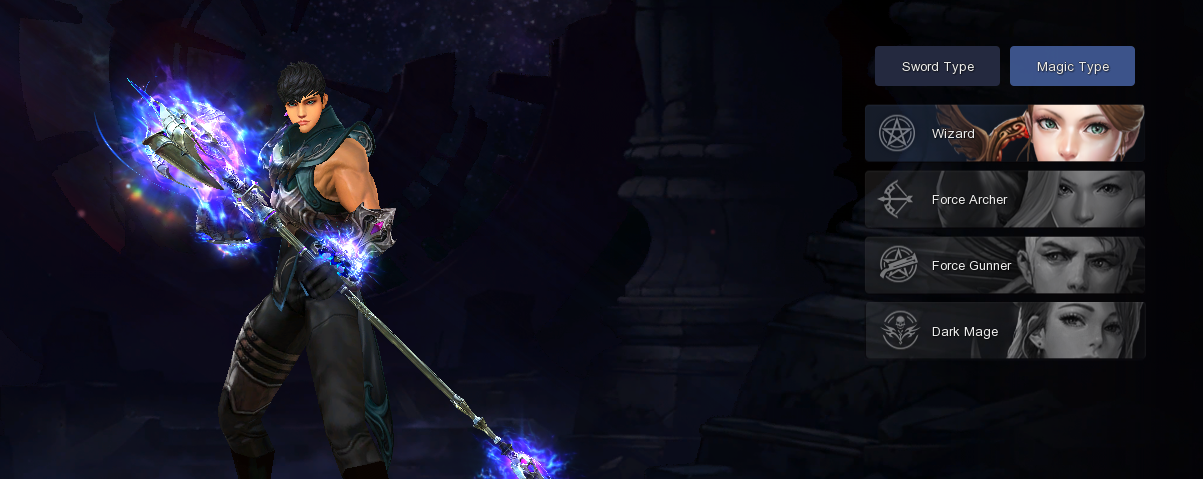
Create Character
There are a total of 9 Battle Styles
and each battle style has different characteristics
You must choose your character by comparing each battle style.
After you decide your battle style,
select the gender, appearance and name of you character
and click the Create Button.

Guild for Newcomers
After the Character is created, a message asking if you would like to join a Newbie guild will pop up.
This guild does not have a guild master and will be consisted of new users to help you with your play.
You may click 'Yes' to be registered in the guild or you may click 'No' and not register in the guild.
However, when 'No' is selected, the character will not be able to enter the newbie guild later on.
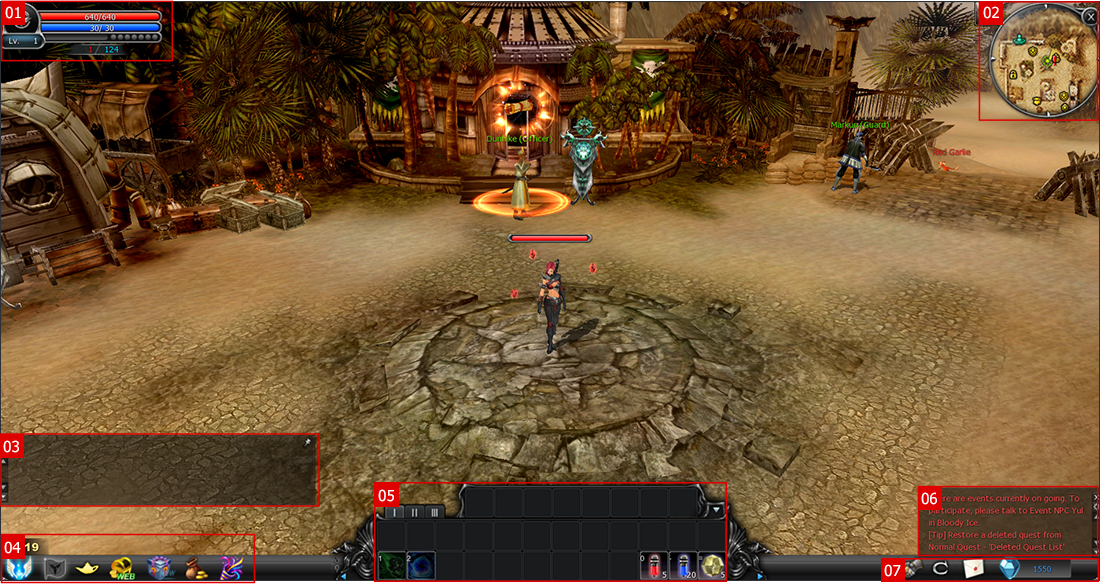
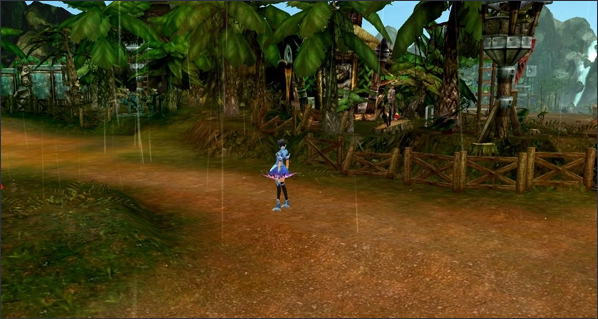
Interface
| No. | Name | Info | |
|---|---|---|---|
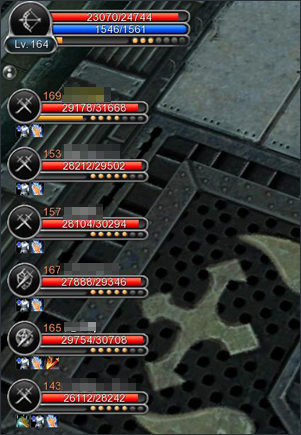
| 01 | Character Info tab |
Can view Lv., Battle Style and HP, MP of player | |
| 02 | Mini Map | Displays the region of the area the character is on, and displays party members and quest destinations. |
|
| 03 | Chat |
May insert and express conversations in game May insert message by use such as general chatting, party chatting, guild chatting, megaphone and etc. |
|
| 04 | Others | May view character's benefit information | |
| May view winning bonus | |||
| May view events in progress. | |||
| May move to item shop. | |||
| May move to special present box. | |||
| 05 | Quick Slot |
May display several skills or items by players choice. May view Characters Exp gained, death penalty, missing exp, axp rate on the exp |
|
| 06 | System Message |
Displays information that you made need during game play |
|
| 07 | Others | Opens Cabal Online Menu | |
| Can use Mail Box | |||
| Can view forcegem in possesion | |||
Moving Keys
-
 [ Q ]
[ Q ]
Move left with
fixed view -
 [ W ]
[ W ]
Move
forward -
 [ E ]
[ E ]
Move right with
fixed view -
 [ A ]
[ A ]
Turn
left -
 [ S ]
[ S ]
BackStep
-
 [ D ]
[ D ]
Turn
right
Changing Screen View
| View | Explanation |
|---|---|
| Chase View | Screen change depending on character's angle view |
| Quarter View | View fixed on 45 degree angle |
| Bird View | Can adjust top/bottom angle based on quarter view |
| Free View | No limits in changing view |
| TIP | Change of View can be made by clicking the Page Down button. ↑, ↓, ←, → Keys for moving up, down, right, left and +, - Keys for expansion and reduction of view. |
Move to Newcomers Map
| Contents | |||
|---|---|---|---|
| GPS | Warp Center | 2nd Warp Center | Port Manager |
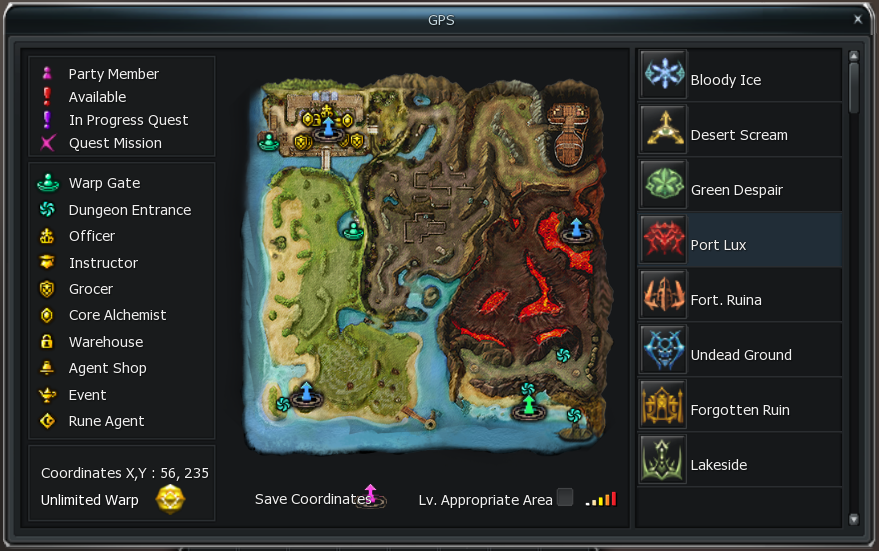
GPS
Map to show each regions field of Nevareth and
move to warp points set by tower of sages
You may open and close the GPS pop up by using short
cut key M, Tab or clicking GPS on the functions tab
Can view routes easily by viewing each worlds map
GPS warp function can be used when using
platinum or silver item
Blessing Bead - Premium or Plus item.
Warp Center
| Warp Center | Explanation |
|---|---|
| Bloody Ice | May use Warp Gate (X:20, Y:108) outside of village to move to early map Desert Scream and Green Despair. May also use the 4th door (Weakened dungeon quest enterance) |
| Desert Scream |
May use Warp gate (X:70,Y:245) in the village next to Mezias(Weapon Dealer) Bloody Ice and Green Despair. May also use the 4th door |
| Green Despair |
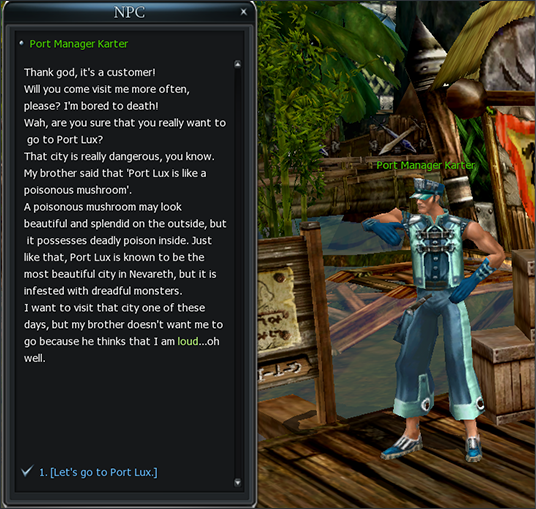
May use Warp gate (X:220,Y:19) in the village next to Instructor Kallua to warp to Bloody Ice and Desert Scream. May also use the 4th door May warp to Port Lux by Port Manager Kater (X:187, Y:23). |
| TIP |
Available when warping to port lux by port manager karter. Must accomplish the Lv.50 rank up quest in order to warp to port lux by |
2nd Warp Center
| 2nd Warp Center | Explanation |
|---|---|
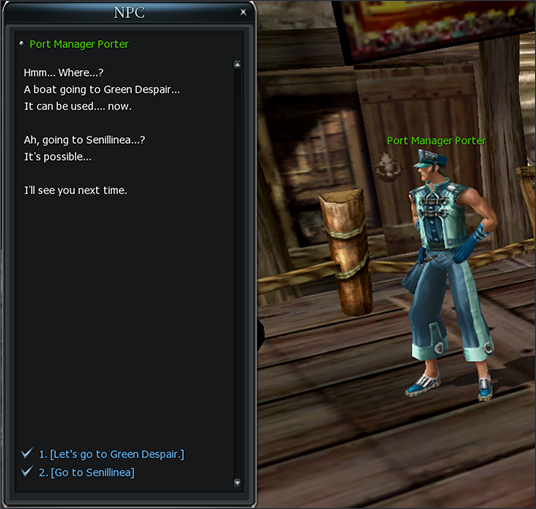
| Port Lux |
Can use the warp gate (X:71,Y:154) near a small lake next to the village and lake side, porta inferno. You may also warp to Green Despaire by starting a conversation with port manager |
| Fort Ruina |
Can use thse the warp gate (X:71,Y:154) near a small lake next to the village to lake side, porta inferno. |
| Lake Side | May use each nations warp starting warp portal to move between port lux. |
| Undead Ground | May enter in the area where Ice monster ghosts and shades are spawned. Can warp to bloody ice by the warp portal in the starting grounds of undead ground. |
| Forgotten Ruins | May enter by the warp portal (X:244, Y:24) at Desert Scream where Monster Lug Queen is spawned. Can move to Desert Scream by each nations portal in starting grounds. |
| Mutant Forest | May enter in the area where the Queen of Moscutter if spawned. Can move to Green Despair by each nations portal in starting grounds. |
| Pontus Ferrum | May enter by warp portal(X:244, Y:74) near spawn area of Mechmander in Fort Luina. Can move to Fort Luina by each nations portal in starting grounds. |
| Porta Inferno | Can move to Fort Luina, Port Lux and Lakeside by each nations portal in starting grounds. |
| Arcane Trace | May enter by starting a conversation with Officer Levenson or Reison at Port Lux. May also move to Port Lux by starting a conversation with Brenina Kim at Arcane Trace |
Port Instructor
You may find port instructor NPC to move inbetween maps.
You may find port instructor karter next to Collins (Armor Dealer) in Green dispaire, and start a conversation to move to Port Lux.
(However, you must reach Lv. 50 and above to move to port lux)
Basic Battle
| Contents | |||
|---|---|---|---|
| Set target to battle | Attack | How to apply battle | Gain Items |
| Recover | Character's Death | Character Resurrection | |
Set Attack Target
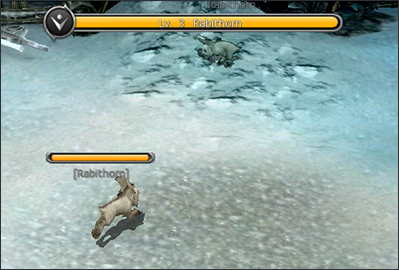
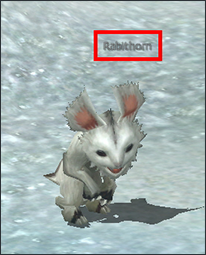
Let's try targetting the cute rabbit horn!
The first basic step of battle is to set a target,
and when you win the battle against the target you will recieve a reward
You may left click your mouse to set the target in Cabal, and the battle starts
when the monster is targetted.
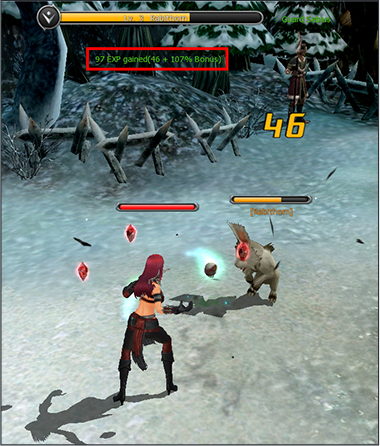
Once you set a monster for target by right clicking, on the top of the screen
you will be able to view the monster's Lv. Name, HP gage.
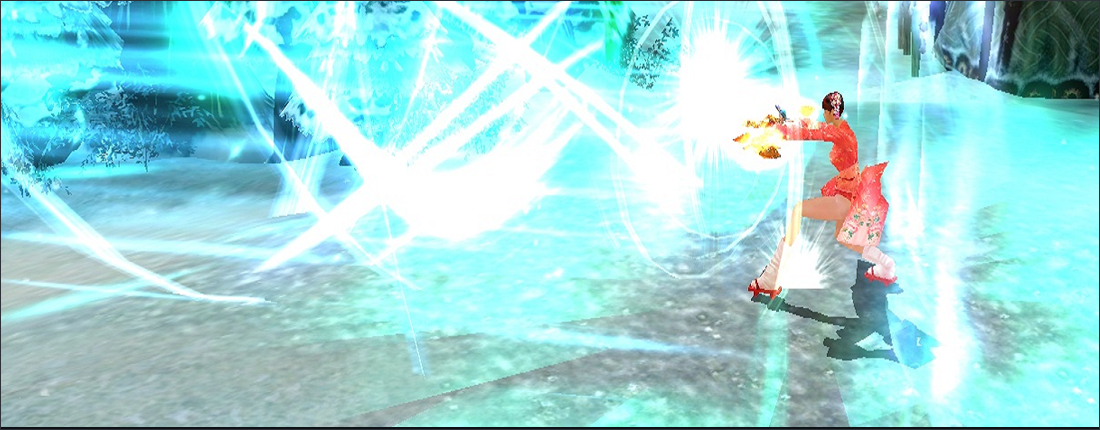
Attack
Gain EXP when using skills!
You may attack the selected target with magic or by physical damage.
When attacking you may use the skills or attacks registered in the quick slots
on the bottom of the screen.
You may create specific attacks such as sterns by creating a combination of skills.
You may gain a certain percentage of EXP when using skills.
You may view the damage given to the monster by HP gage displayed on the
top of the screen.
It is also important for one to check their own HP gage so the character doesn't
reach 0 HP and die.
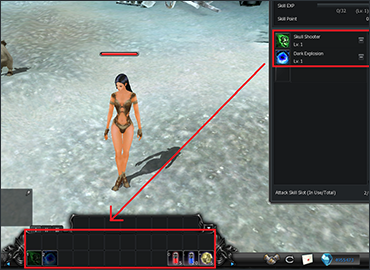
How to apply attack
In order to apply attack conveniently, follow the instructions below.
How to apply- 1. Register skills on quick slot
- 2. Press the shortcut keys to carry out attack
- 3. Option - Set auto attack to carry out auto battle
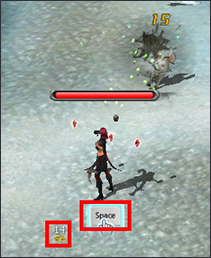
Gain Items
If the monster or the character dies, the battle ends and if the character has defeated
the monster then they may gain SP and items.
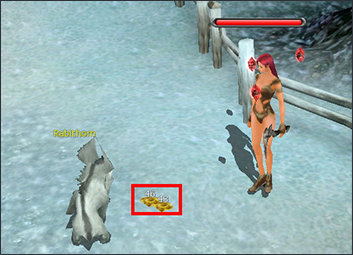
If a monster has dropped items after being defeated,
the items and alz will be shown near the corps of the monster and you may gain
the items by the rules stated below.
| How to | Explanation |
|---|---|
| How to gain items |
Space click and enter Left click on mouse Click item looting key and enter |
Recover
If you have used HP/MP during battle you may consume
HP/MP Potion to recover.
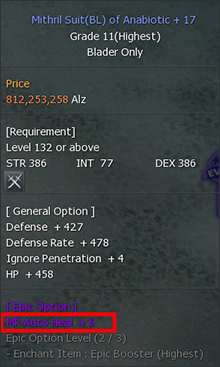
If you have HP/MP auto recover options on your pet/equipment,
your HP/MP may recover automatically for a certain rate.
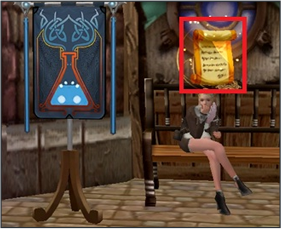
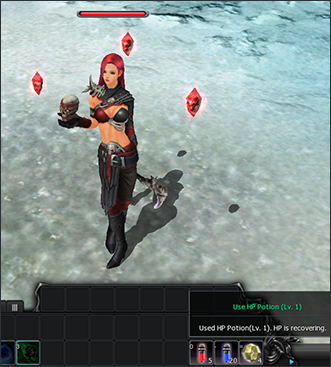 Let's use the recovery potion!
 This is what auto
recovery is!
| How to recover | Explnation |
|---|---|
| Use HP Potion | Register in Quick Slot and use when you lack HP (NOT automatic use) |
| Use MP Potion | When lacking MP during using skills, automatic use |
Character's Death
If the HP of a character reaches 0 HP, then they will reach a "death" mode where actikons
such as battle are not available.
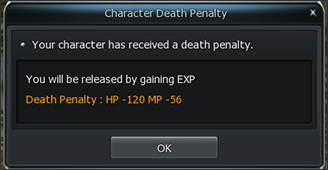
If a character is in 'death' mode then all the buff that was applied will disappear and
a death penalty of decrease in total amount of HP/MP will be obtained.
You may view the specific penalty rate when you hover the mouse on the gage in red beneath
the death penalty quick slot. You may remove the penalty by resurrecting and gaining EXP.
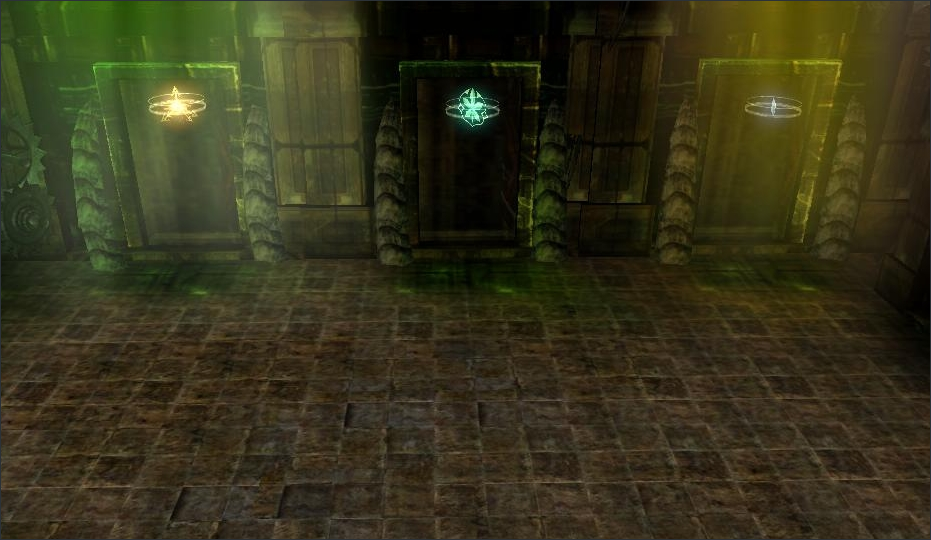
Character Resurrection
What will you select to resurrect?When in character death mode there is nothing else to do except for chatting or
selecting a way to resurrect.
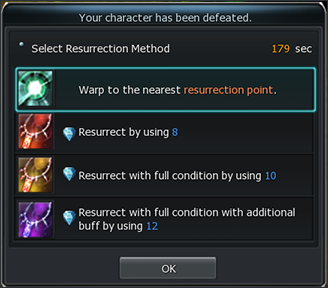
cTo resurrect, follow the instructions below
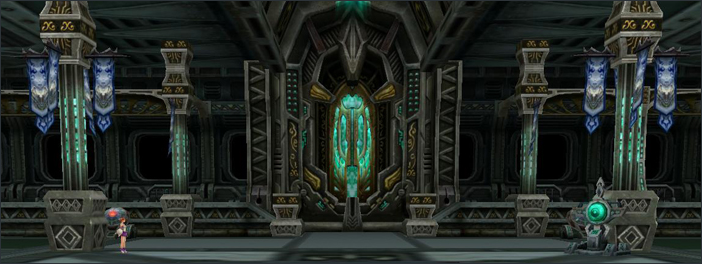
- 1. Warp to nearest resurrection area
- 2. Use odd circle to resurrect in place
- 3. Use Superior Odd Cicrle to resurrect in place
- 4. Use Hyper Odd Circle to resurrect in place.
| Types | Characteristics |
|---|---|
| Odd circle |
Resurrection in place when death Recover HP +100 |
| Superior Odd Circle |
Maintain characters state(Battle Mode, Aura Mode, various durations) and resurrect. Buffs made by potions will be reset. |
| Hyper Odd Circle |
Same as Superior Odd Circle but new buff added New Buff: Dmg reduction +100 for 60sec after resurrection |
Grow Character
Quests
You can lv. up your charater faster by completing various
quests in Cabal Online.
You will be able to see scrolls in gold above the
heads of NPC's in different villages.
You may recieve quests by starting a conversation with the NPC.
 Before starting quests
 Quests in progress
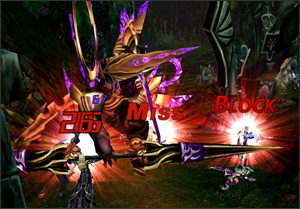
Basic Battle
Before going into battle, you must select your target to attack. If you have a target, right click the mouse and select the target.
If you select a target, a [ ] will be displayed on the name of the target and the HP of the target will be displayed as well.
After selecting a target, you may use the general attack skills registered on the quick slots.
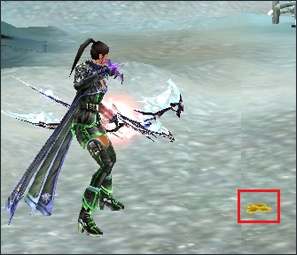
After the battle is over, alz will be dropped on the area you have defeated the monster.
In order to loot, you can left click the mouse or press space bar to recieve the alz dropped.
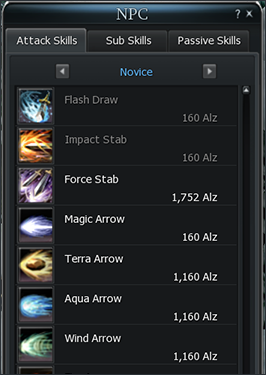
How to learn skills
In CABAL Online, there is a NPC that sells skillbooks.
You can purchase skillbooks from each villages instructor and learn skills.
You may purchase skillbooks with a certain amount of alz, and prices differ by each skill book.
The Skills you can learn differ by each skill rank,
so you must purchase skillbooks according to your character's skill rank.
Mission War
| Contents | |||
|---|---|---|---|
| What is Mission War | How to participate Mission War | How to enter | How to play |
| How to join | Create Party | Exit Lobby | Re-Enter Lobby |
 Mission War in progress
What is Mission War
Mission war is a war between nations held at specific times for winning honor.
During Mission War, you may max out your character's attack abilities,
skill time and recieve scores/ WExp as a reward
It is a content that focuses on the conflicts between both nations.
This content is popular because it can increase the honor lv. of the character and also
recieve rewards.
How to participate Mission War
How to enter
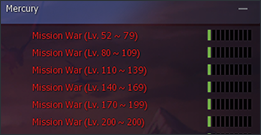
You may enter by clicking on "Mission War channel" created in specific times
Mission war will not be held in any other channels, and users will only be able to enter in
their selected lv. channels.
So it is important to enter the channel that is appropriate at your characters level
In order to participate in mission war, you may accept the 'Enter Mission War' message or
select a Mission War Channel on the Channel select screen.
 Two ways to enter Mission War
How to play
| No. of times | Channel Open Time | Event Period | Participating Members |
|---|---|---|---|
| 6 times a day | Mon - Fri | Wait to begin at lobby for 10min Play Mission War for 40min Stay in Lobby for 30min Total of 90 min |
160 ppl by nation when lobby is entered. Max 140 ppl when entering war field ex) Max 140 ppl in war field, 20 ppl stand by |
| 10:00 - 11:00 | |||
| 13:00 - 14:00 | |||
| 16:00 - 17:00 | |||
| 19:00 - 20:00 | |||
| 22:00 - 23:00 | |||
| 01:00 - 02:00 |
How to join
Depending on the Class and Nation on the character information page,
you may join Mission War when the requirements below are fullfilled.
-
1. Class Rank 6 +
Character's that have reached Skill Rank A. Master may enter the 1 section (Lv.52~79).
(Grand Masters are not allowed to enter) - 2. Lv. 52 +
- 3. Afilliated to a certain nation between Capella and Procyon
- 4. Possession of enterance fee for participating in Mission War
Enterance fee for misison war will differentiate by the levels section.
You must be noted that if you do not have the enterance fee, you may not enter the Mission War Channel and War field
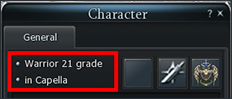 Class rank and nation can be
 found on character info
Create Party
7 Person Party
You may create a party of 7 before mission war starts at the lobby.
Party creation can be made freely, depending on strategy and each battle style.
- 1. When a party is created, the party leader will enter the [Party Leader Channel] automatically.
- 2. If a character doesn't have a party until 1 min before Mission War starts,
a party will be created automatically (Not in a party but a party created by force) - 3. If a party leader logs out, the party leader will be delegated to another user by
following the rules
 * 7 Person Party
Exit Lobby
Select a inactive character when mission war is in progress
You may press Option (Short Cut Key O) or select a server to exit normally.
If you are joined in a party, you will be withdrawed from the party.
This is also applied when you are the leader of the party.
However, delegation of the leader may be changed by the remaining users,
if not then it will be changed automatically and your character will be dropped out from the lobby.
Select Character that is inative during Mission War

Re-Enter Lobby
Re-entry is possible during waiting time in lobby but the waiting order will change.
Also, if there user limit for Mission War Channel is reached, you may not enter.
You may not enter 1 min before the Mission War ends, and also in a situation when one nation
has finished mission war quickly after an absolute victory.